I spent my first three months as a painter convinced I was doing everything wrong. My skies looked like bruised fruit, my trees resembled lopsided broccoli, and I had spent forty euros on brushes I didn't know how to hold. Sound familiar? Here's what nobody tells you: the gap between wanting to paint and actually making something you don't hate is not about talent. It's about knowing which techniques matter first—and which ones you can safely ignore until later. After teaching dozens of beginners over the past four years, I can tell you exactly where most people waste their time and where they should spend it.
Key Takeaways
- You don't need expensive materials to learn—spend your first budget on paper and a handful of decent brushes, not on a full set of oils
- Color theory is simpler than art supply stores want you to believe: start with a split-primary palette and learn mixing before buying twenty tubes
- Brush control comes from one exercise repeated for ten minutes a day—not from watching hours of tutorials
- Canvas preparation is the single most overlooked step, and it's the one that makes the biggest difference in your finished piece
- Most beginners give up because they compare their third painting to someone else's hundredth—stop doing that
- The best technique to learn first is glazing, because it teaches you patience and layering, which are 80% of painting
Why Most Beginners Fail at Technique
In 2024, a survey by the Art Materials Retailers Association found that 68% of people who buy painting supplies stop using them within six weeks. I was one of them, twice. The first time, I bought a "beginner oil painting set" that contained thirteen colors, three brushes, and zero instructions. The second time, I watched forty YouTube tutorials in a week and never touched a brush.
The problem isn't motivation. It's that beginner painting advice is usually wrong. Most sources tell you to "just practice," which is like telling someone who's never seen a piano to "just play." You need structure. You need to know which artistic methods to learn first and which to ignore until you've got the basics down.
After three years of trial and error—and I mean real error, like a portrait that looked like a melted mannequin—I figured out that painting breaks down into four core skills: brush control, color mixing, value understanding, and layering. Everything else is decoration. If you spend your first month on those four things, you will be ahead of 90% of beginners within eight weeks.
The Biggest Mistake I Made
I tried to paint a realistic landscape on my third attempt. Result: a muddy mess that I kept in my closet for a year out of shame. Do not attempt realism until you can mix the same color twice in a row. That sounds obvious, but I did not know it. Start with abstract color studies. Paint squares. Paint gradients. Paint the same apple ten times. Your ego will hate it. Your skill will thank you.
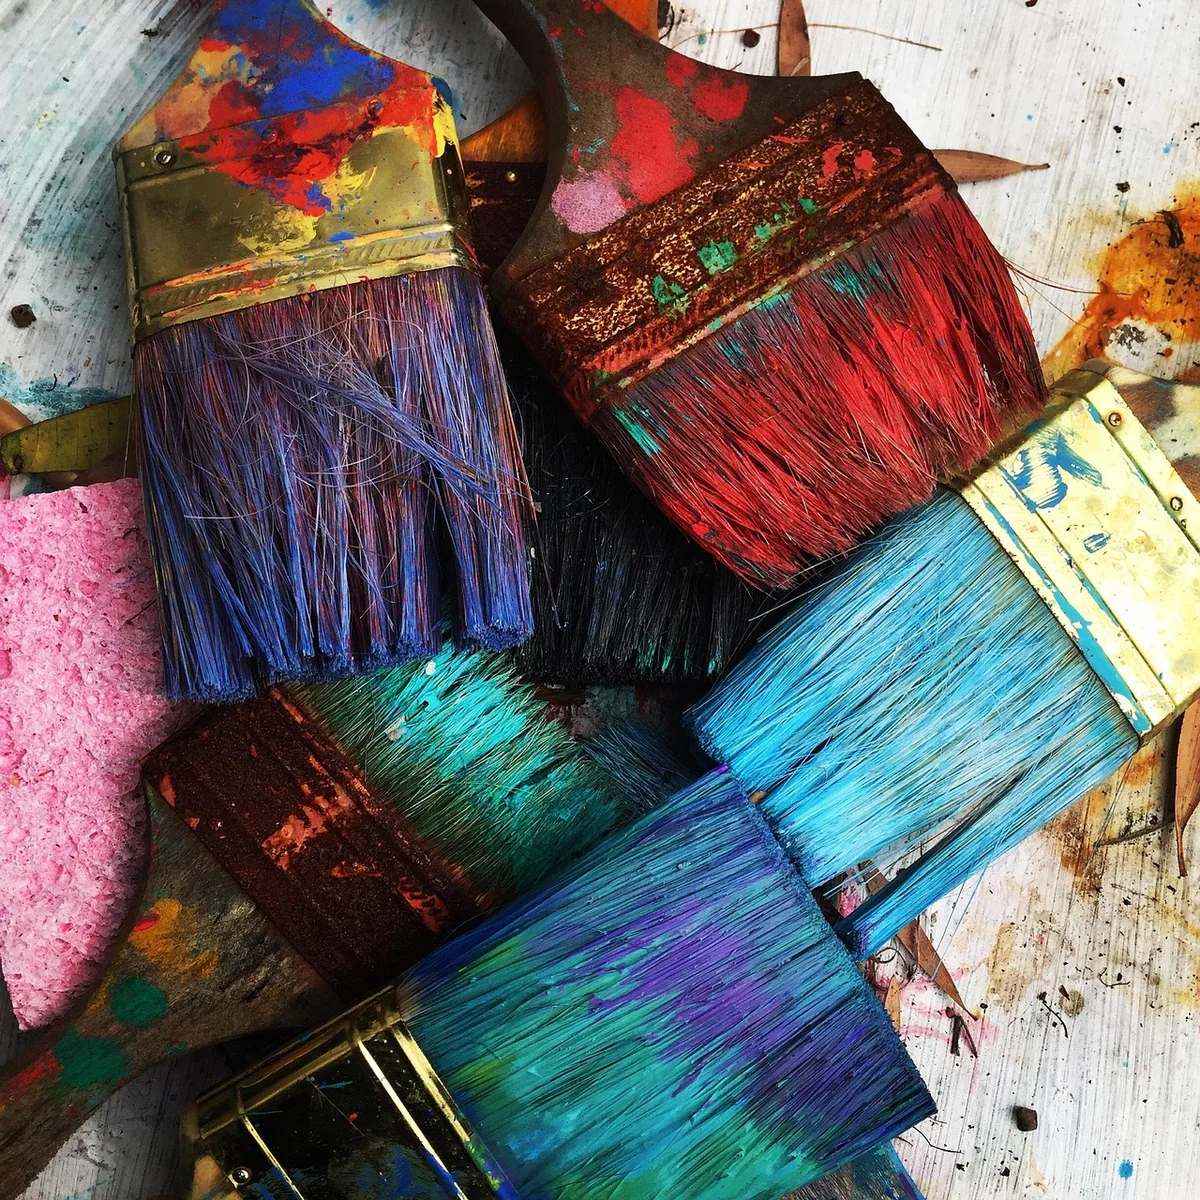
The Only Brushes You Need (and How to Hold Them)
I own forty-seven brushes now. I use five of them regularly. Here is the truth: brush technique matters more than brush quality. A cheap brush held correctly will outperform an expensive brush held like a pencil.
Most beginners grip the brush too tight. They hold it near the ferrule—the metal part—and make tiny, stiff strokes. The correct grip is at the end of the handle, held loosely between thumb and index finger. This gives you access to your whole arm, not just your wrist. Your shoulder should move, not your fingers.
The Five Brushes to Start With
- Round brush, size 4: for lines, details, and small washes
- Round brush, size 10: for general work and medium areas
- Flat brush, size 12: for broad strokes, backgrounds, and blending
- Filbert brush, size 8: for soft edges and petals—my personal favorite
- Liner brush, size 0: for fine lines and signatures
That's it. Five brushes. I painted for six months with just these before I bought anything else. The total cost? About thirty euros for decent synthetic ones. Do not buy natural hair brushes yet. You will ruin them.
The Ten-Minute Exercise
Every day for two weeks, do this: take a flat brush, dip it in paint, and draw a straight line from left to right. Then another. Then another. Then try curves. Then try circles. Do not lift the brush. Keep the pressure even. This trains your arm to make smooth, intentional marks. I did this for fifteen days and my brush control improved more than in the previous three months of random painting.
Color Theory for People Who Hate Color Theory
Color theory basics are not complicated. Art supply companies want you to believe you need a twenty-color palette so you buy more paint. You need six colors. Six.
Here is the split-primary palette that every professional painter I know uses for learning:
| Color | Purpose |
|---|---|
| Titanium White | Lightening and opacity |
| Cadmium Yellow (warm) | Sunlight, warm highlights |
| Lemon Yellow (cool) | Green mixes, cool highlights |
| Ultramarine Blue (warm) | Shadows, purples |
| Cerulean Blue (cool) | Skies, cool shadows |
| Alizarin Crimson (cool) | Red-purples, glazes |
| Cadmium Red (warm) | Warm reds, oranges |
| Yellow Ochre | Earth tones, convenience |
With these eight colors (six plus white and ochre), you can mix virtually any color you see. I have tested this. I spent a month painting only with these and proved myself wrong about needing more. The only color you cannot mix is a pure spectral color like fluorescent pink—and you do not need that for learning.
The Two Rules of Mixing
Rule one: always mix more paint than you think you need. Running out of a color mid-stroke and trying to rematch it is the fastest way to ruin a painting. I have done this at least twenty times. It never works.
Rule two: dark colors have more tinting strength than light ones. A tiny dot of ultramarine blue can overpower a heap of yellow. Add dark to light, not the other way around. Start with the lighter color on your palette and add the darker one in small increments. Mix thoroughly. Test on a scrap piece of paper. Adjust. This will save you from muddy colors.
Canvas Preparation: The Boring Step That Saves Your Work
I painted directly on store-bought canvas for my first year. The result? Paint soaked in unevenly, colors looked dull, and the canvas surface had a texture I could not control. Then a professional painter told me about canvas preparation, and I felt stupid for not knowing sooner.
Canvas preparation is simple: you apply a layer of gesso—a white primer—to seal the canvas and give it a consistent texture. But here is the trick most tutorials skip: you need two to three thin coats, sanded lightly between each coat. One thick coat will crack. I learned this the hard way when a painting I had worked on for ten hours developed a crack down the middle.
How to Do It Right
- Buy a pre-stretched canvas or canvas board. For beginners, canvas boards are cheaper and easier to store.
- Apply the first coat of gesso with a wide flat brush, going in one direction (left to right).
- Let it dry completely—about thirty minutes in a warm room, longer in cold weather.
- Sand lightly with fine-grit sandpaper (220 grit). Wipe off the dust with a dry cloth.
- Apply the second coat perpendicular to the first (top to bottom).
- Dry, sand, wipe.
- Apply a third coat if you want a very smooth surface.
This process takes about two hours total, but it transforms your painting experience. Colors will sit on top of the surface instead of soaking in. Blending becomes easier. Details stay crisp. I now prepare all my canvases this way, and I have not had a single cracked painting since.
Three Techniques That Will Transform Your Painting
There are hundreds of painting techniques. You need three to start. Master these, and everything else becomes a variation.
Glazing
Glazing means applying a thin, transparent layer of paint over a dry layer. It changes the color underneath without covering it completely. This is how painters create depth and luminosity. Think of it like putting a colored filter over a photograph.
To do it: mix a small amount of paint with a glazing medium (or just water for acrylics) until it is the consistency of milk. Apply it thinly over dry paint. Let it dry. Repeat. Three thin glazes will give you more depth than one thick layer of paint.
I use glazing for skin tones, skies, and shadows. It takes patience because you have to wait for each layer to dry, but the result is worth it. My first successful portrait was built entirely from five glazes of different colors.
Wet-on-Wet Blending
This is the opposite of glazing. You apply wet paint onto wet paint and blend them together on the canvas. It creates soft transitions, like in a sunset sky or a foggy landscape.
The key is to work fast. Acrylics dry in minutes, so you need to keep the paint wet. Use a spray bottle to mist the canvas lightly before you start. Work in small sections. If the paint starts to dry, stop and let it dry completely before adding more—otherwise you get a muddy mess.
Dry Brush
This technique creates texture. You load a brush with very little paint—almost dry—and drag it across the canvas. The paint catches only on the raised parts of the surface. It is perfect for rough textures like tree bark, grass, or fabric.
To practice: take an old brush (or a cheap one), dip it in paint, then wipe most of it off on a paper towel. Drag it across a piece of scrap canvas. See how the texture appears? That is dry brush. Use it sparingly—a little goes a long way.
Your First Real Painting: A Walkthrough
Let me walk you through the painting I assign to every beginner I teach. It is a simple still life: one apple on a table. That is it. No background details, no fancy lighting. Just an apple.
Step by Step
- Prep your canvas. Three coats of gesso, sanded.
- Sketch the apple lightly with a pencil. Do not press hard. The graphite will mix with your paint and make it gray if you do.
- Paint the background first. A neutral gray or warm brown. Cover the entire canvas except the apple shape. Let it dry.
- Block in the apple's base color. Mix a medium red—not too bright, not too dark. Cover the apple shape evenly. Let it dry.
- Add shadows. Mix a small amount of ultramarine blue into your red to create a dark shadow color. Apply it to the bottom and one side of the apple. Blend the edge softly with a clean, dry brush.
- Add highlights. Mix a tiny bit of white into your red. Apply it to the top and the side opposite the shadow. Blend softly.
- Add a cast shadow on the table. Mix gray with a touch of blue. Paint a soft shape under the apple. Blend the edges so it fades into the background.
- Let it dry. Look at it. Add one more glaze of red to deepen the color.
That is it. Your first painting. It will not look perfect. Mine did not. But it will look like an apple, and that is the point. Do this exercise five times with different fruits—apple, orange, lemon, pear, plum. Each time, focus on one technique: the first time just get the shape right, the second time work on shadows, the third time practice blending, the fourth time try glazing, the fifth time do everything together.
By the fifth apple, you will see measurable improvement. I kept my first and fifth apples and the difference is embarrassing—the first one looks like a tomato that has been in a fight.
The One Thing I Wish I'd Known Sooner
Painting is not about making something beautiful on the first try. It is about making a series of decisions and learning from each one. The best painters I know have failed more times than beginners have tried. They just kept going.
Here is my honest advice after years of trial and error: spend your first month on technique, not on finished paintings. Practice brush control for ten minutes a day. Mix colors from your six-color palette. Prepare your canvases properly. Do the apple exercise five times. Learn glazing before you try to paint a portrait.
And when you get frustrated—because you will—remember that every painter you admire has been where you are. The difference is they kept painting through the ugly phase. You can too.
Your next step? Go buy a canvas board, a tube of titanium white, and a round brush size 10. Spend fifteen minutes doing the line exercise. Then paint an apple. Not the perfect apple you imagine—the one that actually appears on your canvas. That is where you start.
Frequently Asked Questions
What is the best paint for a complete beginner?
Acrylic paint. It dries fast, cleans up with water, and is forgiving because you can paint over mistakes. Oil paint takes too long to dry and requires solvents. Watercolor is harder to control. Start with acrylics for at least three months before trying anything else.
How do I know if I am using too much paint?
If your brush leaves thick ridges that do not smooth out when you stroke, you are using too much. The paint should spread evenly without building up on the edges. A good rule: dip your brush, then wipe it once on the edge of your palette before touching the canvas. That removes the excess.
Do I need to learn to draw before I paint?
No, but it helps. Drawing teaches you to see shapes and values, which transfers directly to painting. That said, you can learn both at the same time. Spend ten minutes a day drawing simple shapes—cubes, spheres, cylinders—and you will see improvement in your painting within weeks.
Why do my colors look muddy?
Three reasons: you are overmixing (stop stirring once the color looks right), you are using too many colors (stick to your six-color palette), or you are blending wet paint into wet paint too aggressively. Let layers dry between applications. Muddy colors are almost always a sign of impatience, not lack of skill.
How long until I paint something I actually like?
For most people, it takes about twenty to thirty hours of deliberate practice. That means focused work on specific techniques, not just random painting. If you practice for thirty minutes a day, you will see a painting you are proud of in about six to eight weeks. I painted for three months before I kept anything. That is normal.